Why do you blog?
To create. And to share my ideas with the world. It’s a home I get to build and art I get to design.
A beginner friendly tutorial on how to make your own original pinata designs.
Do you want to be the life of the party and give a gift kids AND adults will love? Then learn how to make a pinata! They are personal and customize-able to fit the interest of the person you are making it for, that includes you!
From Hello Kitty to Mario to holiday themed pinatas; give yourself the gift that keeps on giving! Teach yourself once and have a forever skill!
So, what do you need to begin? Well, let’s start off with the materials; you’re going to want cardboard, the thinner the better. I like to use empty food package containers from cereal, biscuits, snacks or delivery packages. You’re going to want streamers, you can buy these at your local dollar or party store, or use this link to buy some online. You’re going to want string, twine, yarn, or a thick string. For an easier process you’re going to want to use hot glue, it’s faster and sticks well, however don’t worry if you don’t have a hot glue gun you can proceed with this craft using tape, masking tape is best, but any tape works. And that’s it!
Getting Started
So to recap you’re going to need the following materials.
-Streamers
-Cardboard boxes (ex. empty cereal boxes, food packaging, delivery boxes)
-Scissors
-Craft Glue (Elmer’s or any liquid glue)
-Masking Tape
-Yarn, twine, or a thick string
-Paper, pencil, and colored pencils or markers
YouTube Tutorial Coming Soon!
Directions
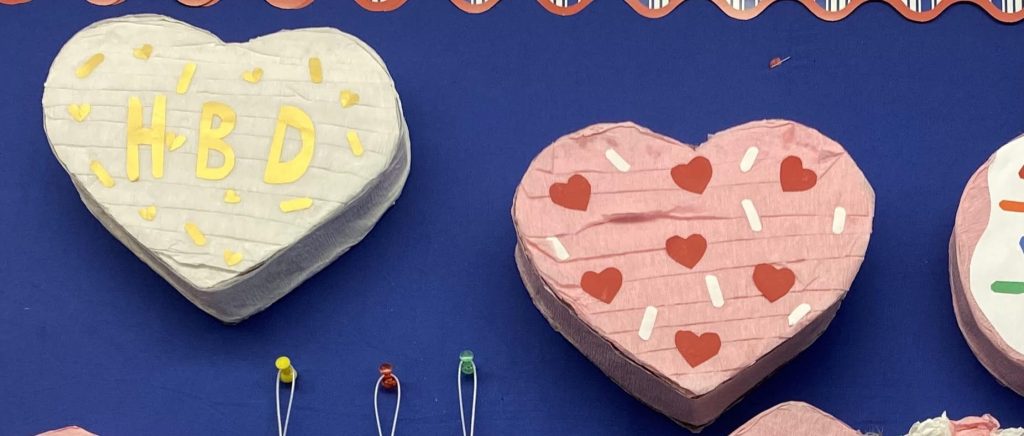
CONGRATULATIONS! You have finished your first pinata. This is the moment where you pat yourself on the back for a job well done.
This is also the moment where you stuff your pinata with all the candy you want!
Optional: If you want you can add little designs to your heart by cutting out shapes or letters using your patterned paper.


A beginner friendly tutorial on how to make your own original pinata designs.
Do you want to be the life of the party and give a gift kids AND adults will love? Then learn how to make a pinata! They are personal and customize-able to fit the interest of the person you are making it for.
From Hello Kitty to Mario to holiday-themed pinatas; give yourself the gift that keeps on giving. Teach yourself once and have a forever skill!
So, what do you need to begin? Well, let’s start off with the materials; you’re going to want cardboard, the thinner the better. I like to use empty food package containers from cereal, biscuits, snacks or delivery packages. You’re going to want streamers, you can buy these at your local dollar or party store, or use this link to buy some online. You’re going to want string, twine, yarn, or any thick string. For an easier process you’re going to want to use hot glue, it’s faster and sticks well, however don’t worry if you don’t have a hot glue gun you can proceed with this craft using tape, masking tape is best, but any tape works. And that’s it!
Getting Started
So to recap you’re going to need the following materials.
-Streamers
-Cardboard boxes (ex. empty cereal boxes, food packaging, delivery boxes)
-Scissors
-Craft Glue (Elmer’s or any liquid glue)
-Masking Tape
-Yarn, twine, or a thick string
-Paper, pencil, and colored pencils or markers
YouTube Tutorial Coming Soon!
Directions
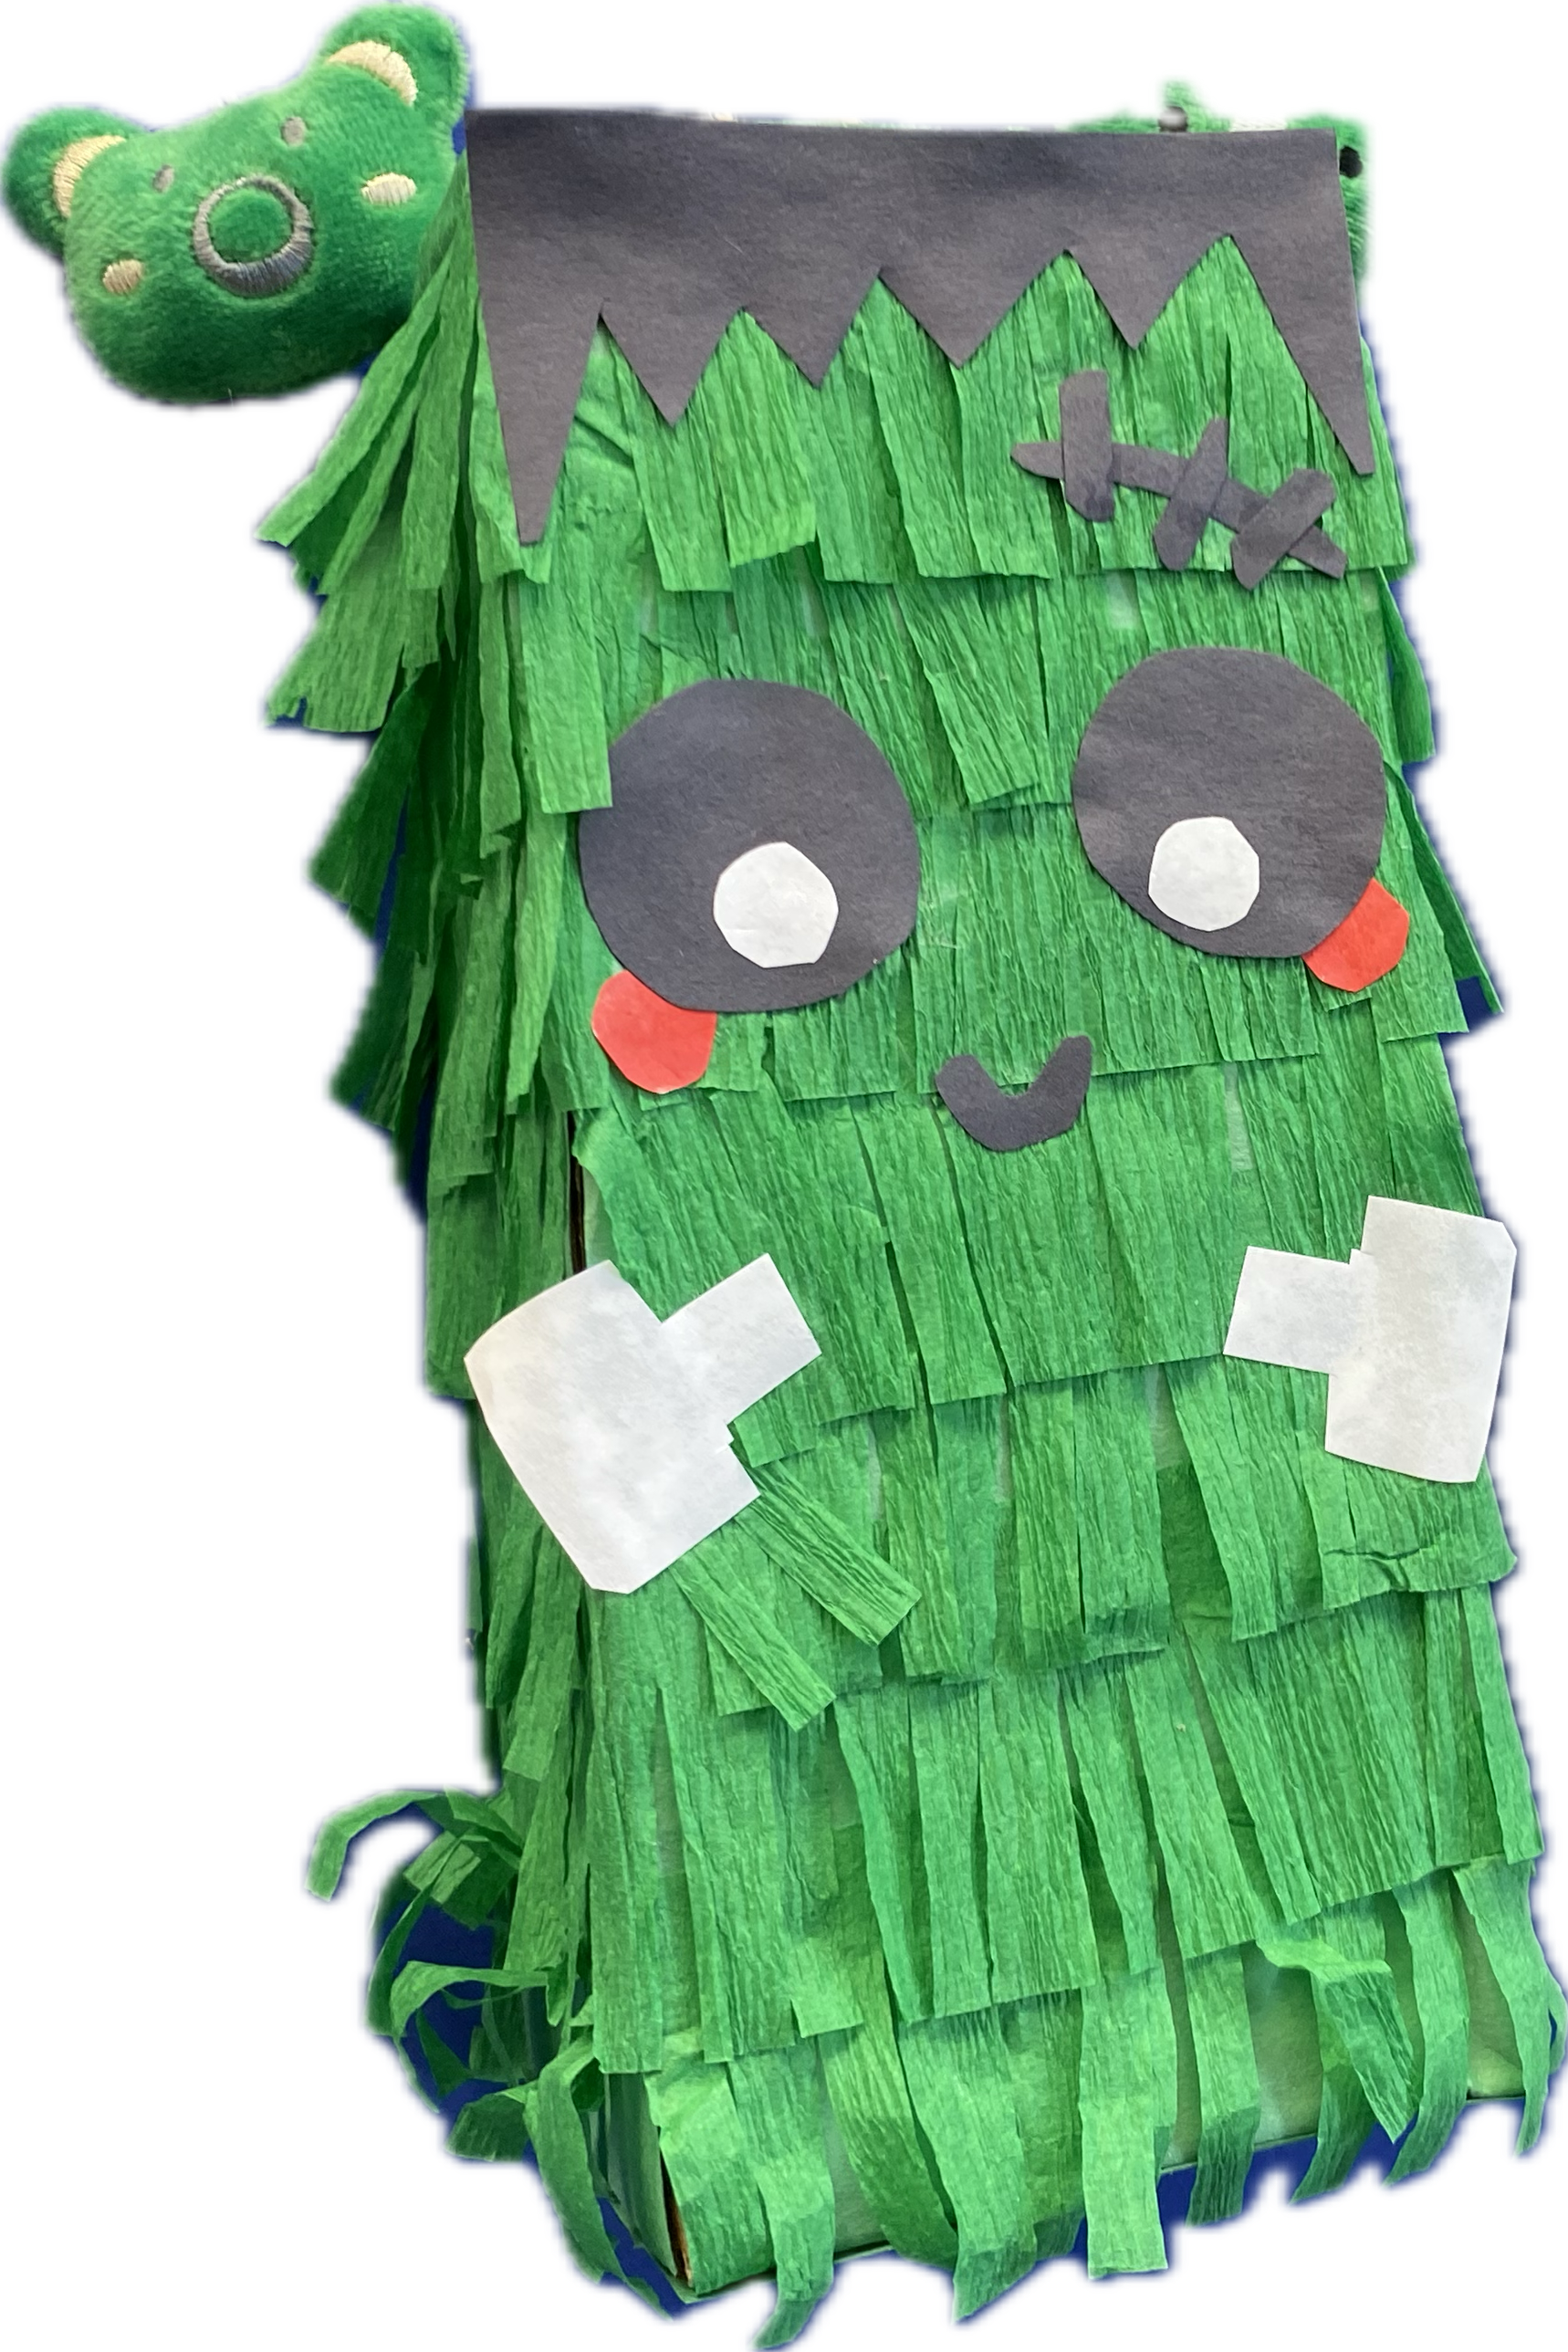
CONGRATULATIONS! You have finished your pinata. This is the moment where you pat yourself on the back for a job well done.
This is also the moment where you stuff your pinata with all the candy you want!
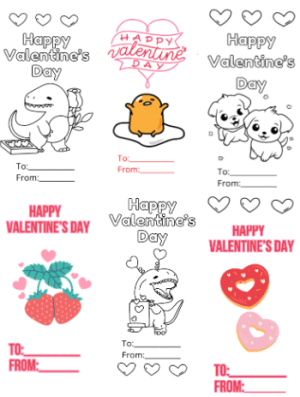
Are you looking for a cute, easy, and one-of-a-kind Valentine card for your friends, kids, or kid’s classmates? Look no further! Here is a quick, easy, free printable Valentine PDF for all your Valentine needs.
Choose from 6 PDF design prints to captivate and create!
Select your design below, hit the download button and then just cut them out!
For a nicer finish you can print out the designs on card stock. If your printer doesn’t have that option, you can print your designs on paper and then glue them onto a thicker paper like card stock, construction paper, or a patterned paper.
Design 1: Dinosaur with Heart Scroll Coloring Page – Valentine’s Card
Design 2: Dinosaur with Rose Coloring Page – Valentine’s Card
Design 3: Puppy Coloring Page – Valentine’s Card
Design 4: Heart Donut Valentine Card
Design 5: Gudetama Valentine Card
Design 6: Strawberries Valentine Card
Thank you all for the support to our website! We are working hard to maintain all the resources free of charge, however, any donations would be greatly appreciated to continue to keep these services free for everyone. 🙂

So you’re looking for a one-of-a-kind craft that is fun, easy, and low cost– you’ve found it!
Fake cakes are one of my favorite crafts to do because it is a low-effort high-reward craft meaning that this craft looks great with low effort. When I first discovered fake cakes I was immediately obsessed and luckily as a baker I had some extra piping bags ready for this craft.
So, what do you need to begin? Well, let’s start off with the materials; you’re going to need a jewelry box or small cardboard box, plaster, plaster knife(you can use a popsicle stick in a jam), piping bag and tip, air dry clay, acrylic paint and a bowl.
Getting Started
So to recap you’re going to need the following materials.
-Wooden Jewelry Box or Cardboard Box (I recommend buying these, but if you can’t find them or want to make your own ,check out this tutorial).
-Offset Spatula (or as a last resort, large popsicle stick, although I highly recommend the offset spatula)
-Plaster (I recommend these)
-Plaster/Clay crafting tool(s)
-Piping Bags and Tips
-Acrylic Paint
-Air Dry Clay (To make cherries, strawberries, etc.)
-Bowl (to mix acrylic paint with plaster)
-Charms (Optional)
TBD: URL to YouTube Tutorial
Directions
8. Once your plaster is done drying (check your plaster container for specific times and details), the really fun part begins. Grab your plastic piping bags and a piping tip, preferably an open or closed star, you will be using this for the cake “frosting” so we want to make sure it looks cute.
9. Open up your piping bag and insert the piping tip into it, pushing it down to the bottom. Once it fits snugly use scissors to cut a small opening where the tip will come out of.
10. Using your plaster knife, (please clean off the base mix, if you haven’t already), add some plaster into the piping bag. Using your plaster knife or hands push the “plaster frosting” down to the bottom of the bag and then seal the bag with a rubber band or string.
11. Now for the fun part, using your piping bag, add frosting onto your dried plaster cake! The “wet” plaster frosting automatically sticks to your cake, no glue needed. Add as much “frosting” as you would like, I recommend putting frosting on the top, middle and bottom part of your cake. If you’re going to put clay cherries on your cake, make sure you take the dried clay cherries and use them to make an indentation onto the wet plaster (this will make it easier to glue them onto our “frosting” once it dries). If you are adding charms to your frosting, do so now as the wet plaster will act as an adhesive for the charms.
Final Step (Optional): Decorate your cake with clay sprinkles, cherries, strawberries, beads, jewels, etc to get a cuter finished look.
CONGRATULATIONS! You have finished your first fake cake. This is the moment where you pat yourself on the back for a job well done!
*Please make sure you are reading the instructions and information on your materials, this will ensure that you use the product accurately and safely. It is important to note that you should be closing your air dry clay and plaster containers after use as leaving them unsealed may cause them to dry out.

A beginner friendly tutorial on how to make your own original pinata designs.
Do you want to be the life of the party and give a gift kids AND adults will love? Then learn how to make a pinata! They are personal and customize-able to fit the interest of the person you are making it for, that includes you!
From Hello Kitty to Mario to holiday themed pinatas; give yourself the gift that keeps on giving! Teach yourself once and have a forever skill!
So, what do you need to begin? Well, let’s start off with the materials; you’re going to want cardboard, the thinner the better. I like to use empty food package containers from cereal, biscuits, snacks or delivery packages. You’re going to want streamers, you can buy these at your local dollar or party store, or use this link to buy some online. You’re going to want string, twine, yarn, or a thick string. For an easier process you’re going to want to use hot glue, it’s faster and sticks well, however don’t worry if you don’t have a hot glue gun you can proceed with this craft using tape, masking tape is best, but any tape works. And that’s it!
Getting Started
So to recap you’re going to need the following materials.
-Streamers
-Cardboard boxes (ex. empty cereal boxes, food packaging, delivery boxes)
-Scissors
-Craft Glue (Elmer’s or any liquid glue)
-Masking Tape
-Yarn, twine, or a thick string
-Paper, pencil, and colored pencils or markers
YouTube Tutorial Coming Soon!
Directions
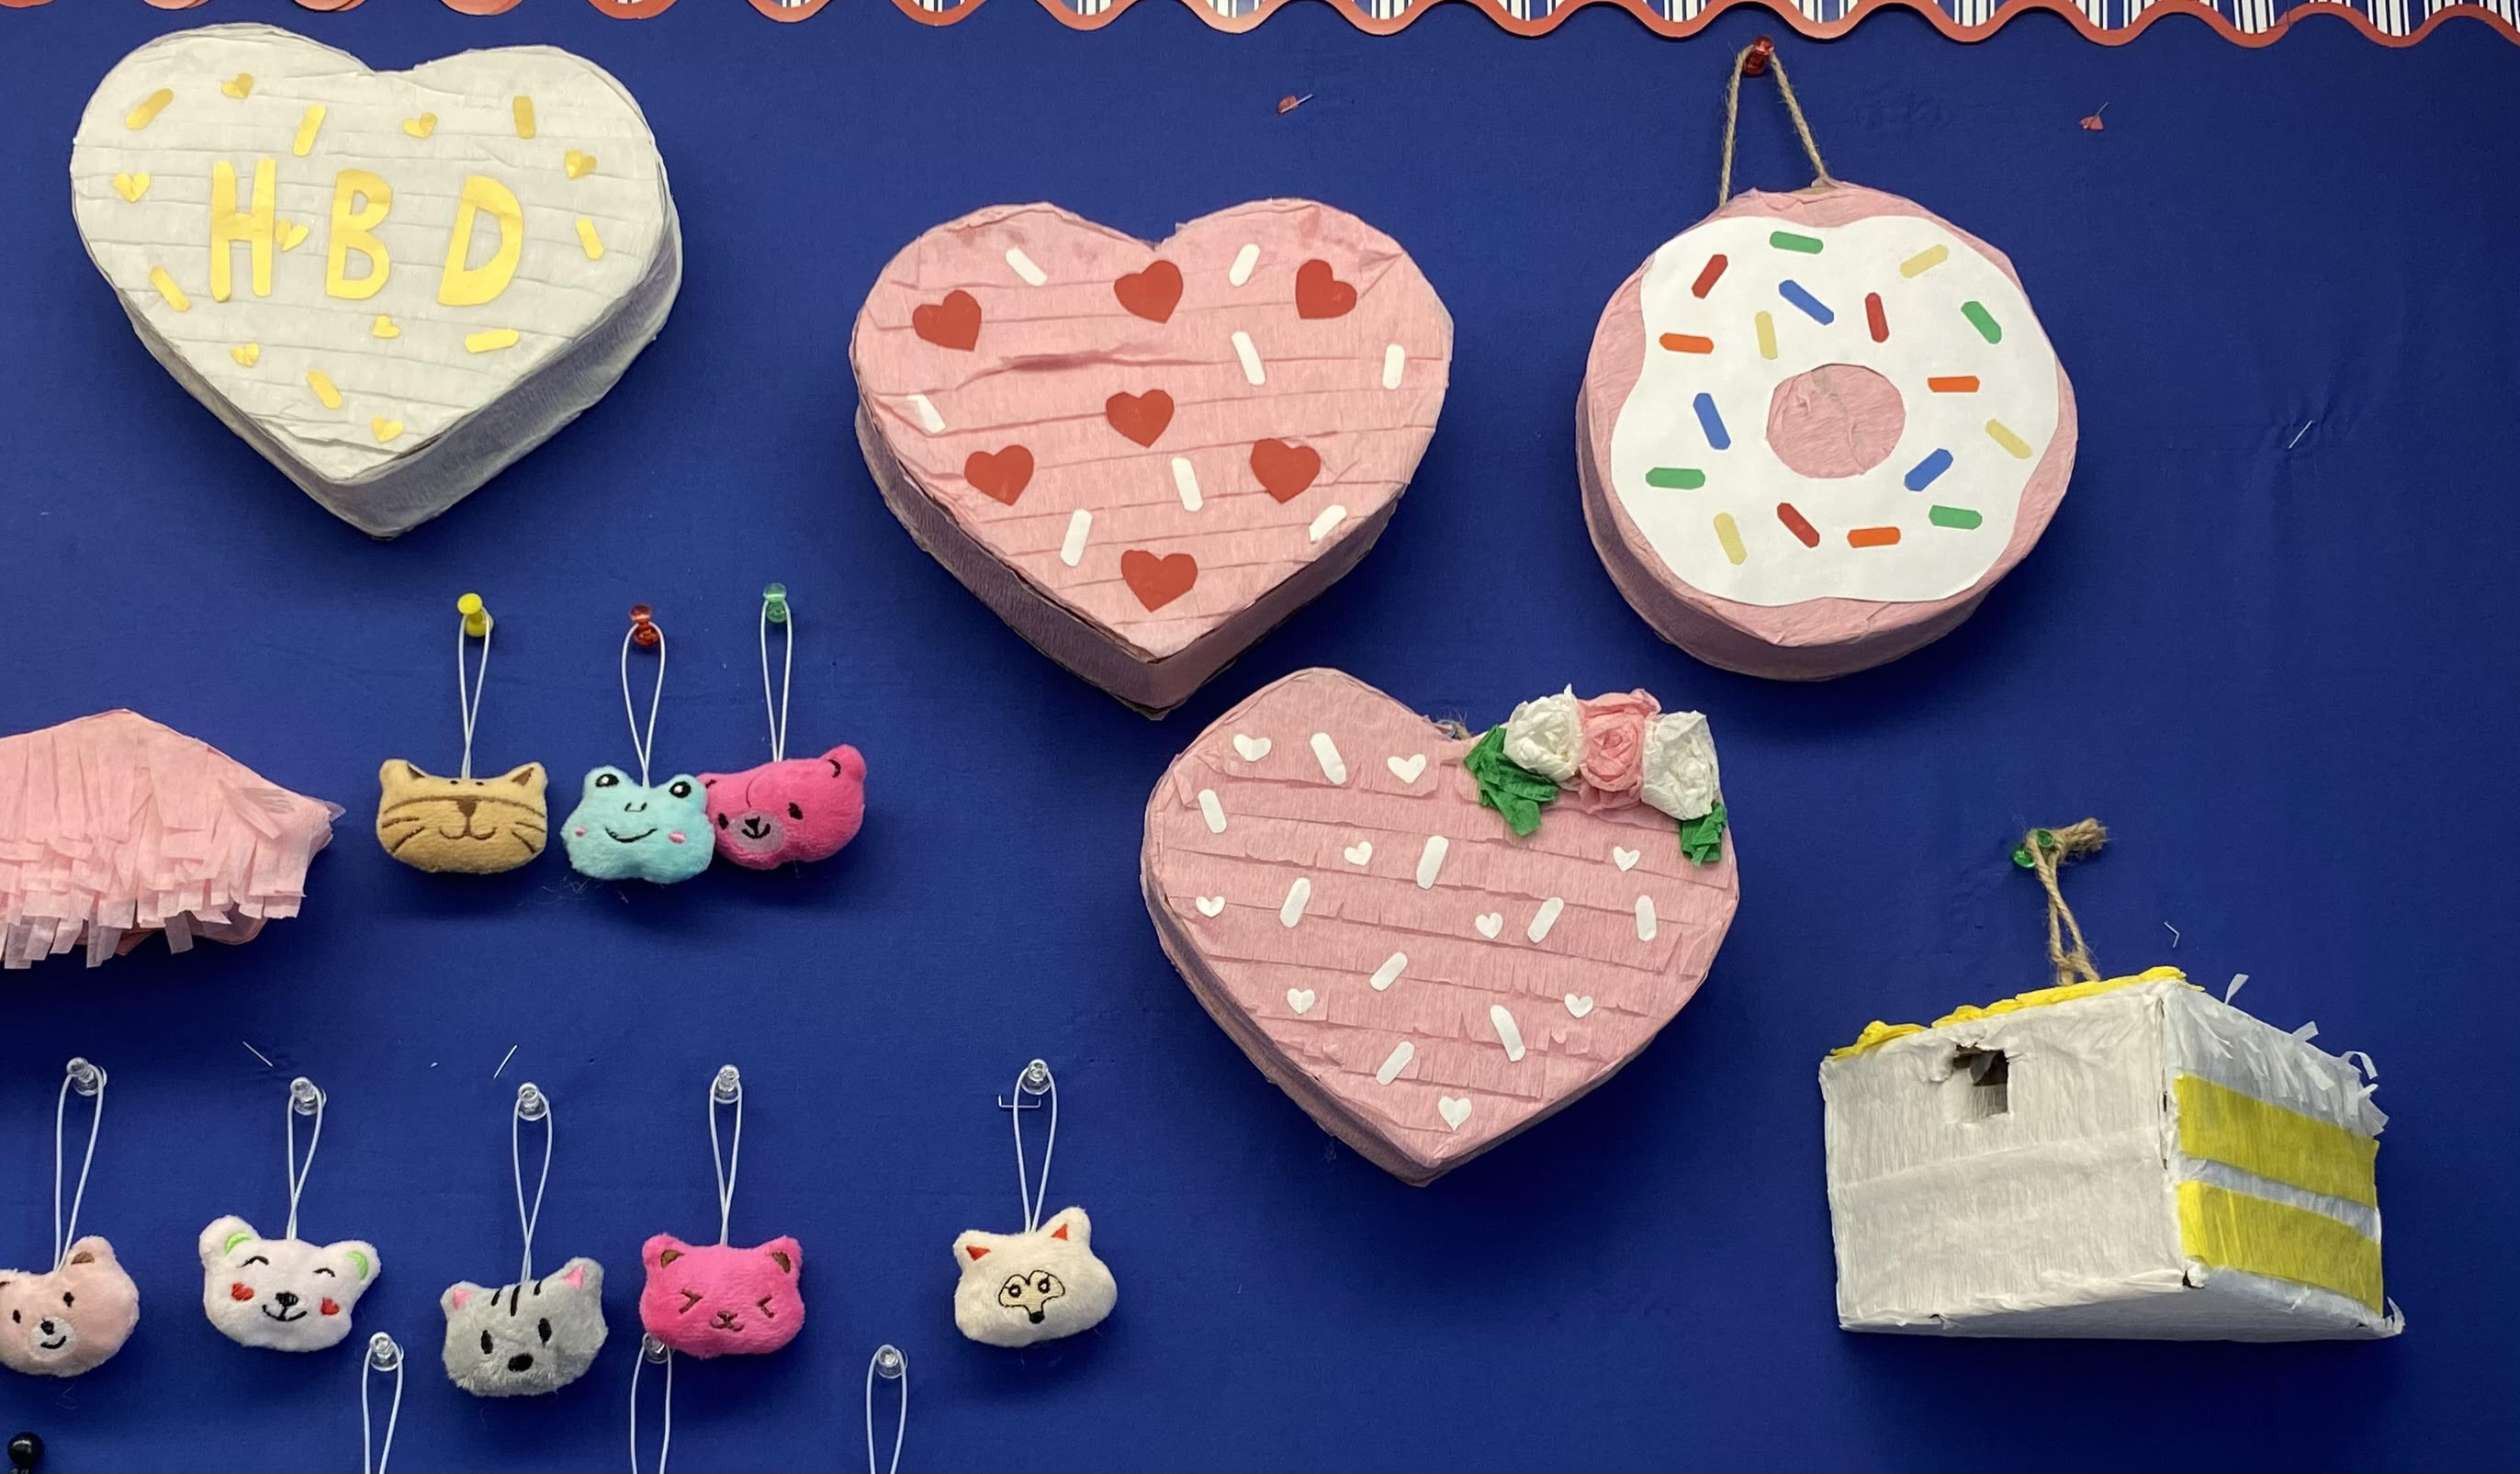
CONGRATULATIONS! You have finished your pinata. This is the moment where you pat yourself on the back for a job well done.
This is also the moment where you stuff your pinata with all the candy you want!
